CFML Development with Github Codespaces
I saw the announcement from Github awhile back for the beta release of their Codespaces product. I thought it looked like an interesting idea and decided to sign up. I was given access awhile back but just recently had some time to play around with it a bit.
The idea of running your development environment in containers is not new. However, typically it has applied to just the application itself. Codespaces takes it a step further by packaging everything including the editor (VS Code), extensions, tools, or anything else needed for development inside a container environment. With Codespaces you can develop from any machine that has a internet browser.
Getting Started
For starting out with Codespaces I decided to setup a development environment for a simple CFML application. But before doing that I just did a very very basic Hello World page.
I was also wondering if there was a way to test it out locally before doing it in Codespaces. It turns out that the configuration is about the same as using the VS Code Remote Containers plugin. This plugin runs your entire development environment in Docker Desktop on your local machine.
Note that not all the features available with this plugin currently work in Github Codespaces.
CFML Hello World Example
Configuring your project for Codespaces starts with a json configuration file. It can be either .devcontainer.json or .devcontainer/devcontainer.json. You can find a list of all the supported configuration keys in their documentation.
Container Image
To setup my development environment I wanted to use the pre-built Docker image provided by Ortus Solutions. So I used the image key to define the image I wanted to use.
At the time of this writing Codespaces only supports Ubuntu based docker images. I tried to use an Alpine image and it failed.
{
  "name": "CFML Hello World",
  "image": "ortussolutions/commandbox:latest",
Workspace Configuration
The Ortus image expects the application to be in a directory named /app by default so I used the configuration file to configure the environment to use that folder as my workspace and to map my code to that directory.
"workspaceFolder": "/app",
"workspaceMount": "source=${localWorkspaceFolder},target=/app,type=bind,consistency=cached",
VS Code Plugins and Settings
Since the VS Code editor is running inside the container environment we define what VS Code plugins should be installed for this environment. Here I am installing the VS Code CFML plugin and the TestBox plugin. When I have some more time I would like to get the CF Lint plugin working with the environment as well.
"extensions": [
  "kamasamak.vscode-cfml",
  "formulahendry.auto-close-tag",
  "ortus-solutions.vscode-testbox"
],
You can also use the settings key to apply specific settings to the VS Code editor.
Starting the Application
The forwardPorts setting is used to tell Codespaces which port your app is running on. I used to the postCreateCommand setting to install the application dependencies and start the server after the container is created.
"forwardPorts": [8080],
"postCreateCommand": "box install && box server start",
You will have full access to CommandBox via the terminal so can start and stop the server manually as well.
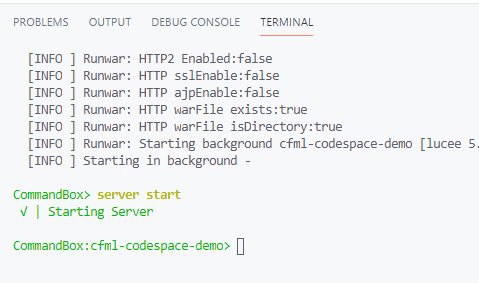
Start a CommandBox server inside Github Codespaces
If you want to see the full code for my hello world test you can see the repo here. Next I wanted to get a little more complex by running a basic To-Do application that saves your to-do items to a database table.
Customizing Your Environment
You can also create a Dockerfile as part of your Codespaces configuration if an existing Docker image does not work for you or you need to install additional tools in your environment. Since my To-Do application uses an application server and database service I need to be able to run multiple containers.
Running Multiple Containers
Github Codespaces also supports Docker Compose so you can run multiple containers for your development environment.So for this example I created a docker-compose.yml file to configure my application container running the CFML application that connects to a database container running SQL Server.
I use the same devcontainer.json configuration as above but instead of using the image setting I provide a Docker Compose file.
{
	"name": "CFML App with SQL Server",
	"dockerComposeFile": "docker-compose.yml",
Here is the full docker-compose.yml configuration that I am using for the demo. One thing to note is that Docker Compose version 3 or higher is required.
version: '3'

services:
  app:
    image: ortussolutions/commandbox:latest
    environment:
        - PORT=8080
        - DB_NAME=ToDo
        - DB_HOST=db
        - DB_USER=sa
        - DB_PASSWORD=change_this_password
    volumes:
      - ..:/app:cached
    depends_on:
            - db
    command: sleep infinity

  db:
    image: mcr.microsoft.com/mssql/server:2019-latest
    restart: unless-stopped
    environment:
      SA_PASSWORD: "change_this_password"
      ACCEPT_EULA: "Y"
      MSSQL_PID: "Express"
    volumes:
      - mssql-volume:/var/opt/mssql

volumes:
  mssql-volume:
The full repository for this project can be found here.
https://github.com/jsteinshouer/cfml-codespace-demo
Developing with Codespaces
Within the Codespaces editor you have access to many of the same features you have when editing in VS Code. Here is the file browser running inside the Codespaces editor.
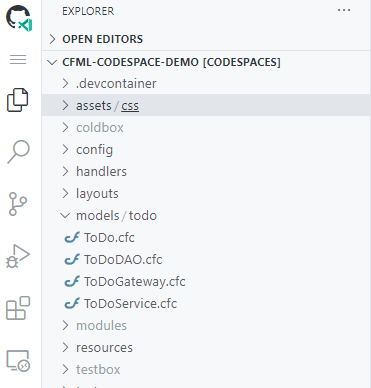
Codespaces File Explorer
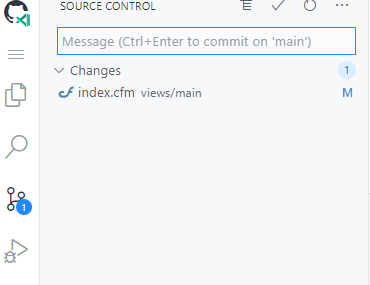
Github Integration
The Codespace is integrated with the Github repository so you can use the editor or terminal to create branches, commit changes, and even create pull requests.
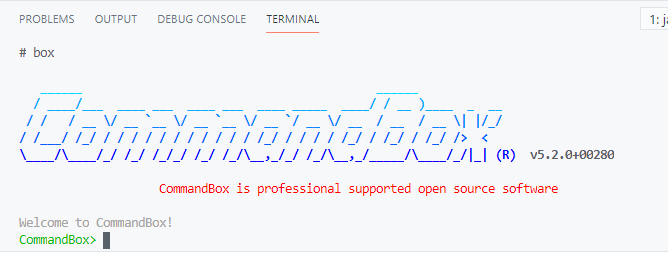
As I previously mentioned you also get access to the terminal so you can run CommandBox or any other tool installed in the container.
When you run your application, Codepsaces will promt if you would like to open the application in the browser. You can also access it by clicking on this icon at the bottom.
![]()
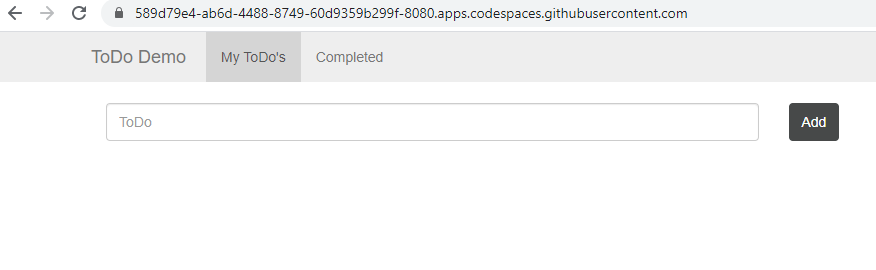
Here is what my demo application looks like running in the Codepsaces environment.
The Developing in Codespaces documentation provides more detail.
Personalization
Dotfiles
If you have a dotfiles repository, Codepsaces will automatically clone it in the container and use it to personalize your development environment. I do not have currently have a dotfiles repository so I did not test this out. I did however make a note to look into this in the future. See the docs for more details.
VS Code Settings
You can also utilize the VS Code settings sync feature to synconize extensions, settings, and keyboard shortcuts.
Pricing
At the time of this writing Github Codespaces is currently in public beta release so the pricing details are still not finalized. It is currently free for beta and limited to 2 instances.
The documentation states that I will be billed for storage and compute usage when generally available. It currently does not mention a free tier however the pricing details that they do have listed do not seem too expensive. They also say they will have different instance sizes available as time of general availability as well.
Conclusion
I really like the idea of packaging the entire development environment together to make it easier for new developers to get started. I also think this would be great for education and training of new developers. However, since there does not seem to be a free tier I am not sure how much it will take off. We can hope that they decide to offer a free tier for learning and minimal usage.